
Photo by Team TGM
Most beginners get stuck trying to figure out which elements to use and how to use them effectively.
This comprehensive guide breaks down every Webflow element in simple terms, shows you exactly how to use them, and gives you practical examples that work in 2025. Unlike other generic tutorials, this guide focuses on the latest Webflow features and provides actionable steps you can follow immediately to build professional websites without any coding knowledge.
Table of Content:
What Are Webflow Elements?
In simple terms, Webflow elements are the drag-and-drop pieces you use to build a web page. Think of them like LEGO blocks—you use different types of blocks to build different parts of your website.
Some elements are used to structure your layout (like Sections and Div Blocks), while others display content (like Text, Images, or Videos).
Why Understanding Elements Matters
Knowing how to use Webflow elements gives you control over your website’s design and layout. It helps you:
- Design custom sections from scratch
- Edit pages quickly and confidently
- Create responsive, mobile-friendly layouts
- Avoid relying too heavily on templates
Whether you’re building a personal blog, an eCommerce store, or a business site, mastering these elements will make your work faster and more effective.Use Layout elements to create the “skeleton” of your page.
Categories of Webflow Elements
Let’s break down all the key Webflow elements by category, so you can understand what each one does and when to use it.
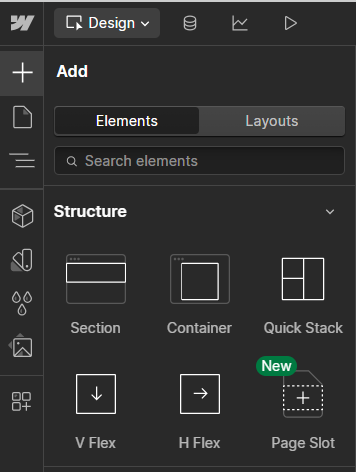
1. Layout Elements

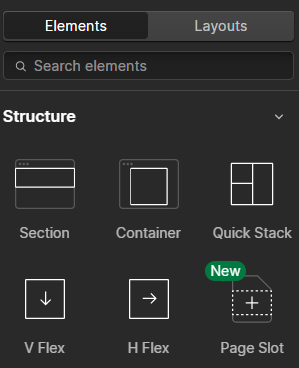
Webflow – Layout Elements screen 2
These elements help you define the structure of your page.
- Section: A full-width container used to divide your page into parts (like hero, about, contact).
- Container: A centered wrapper that limits content width for better readability.
- Div Block: A flexible empty box you can style and place content in.
- Grid: A visual layout tool that lets you place items into rows and columns.
- Columns: Quickly create side-by-side content.
2. Typography Elements
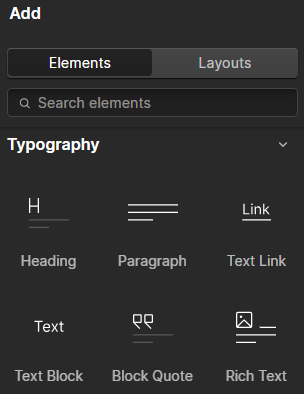
These are used to display text content.
- Heading (H1–H6): Used for titles and subtitles. H1 is the most important.
- Paragraph: For longer bodies of text.
- Text Block: A simple line or group of lines of text.
- Rich Text: Used to display blog posts or CMS content with multiple styles.
- Text Link: Clickable text that links to another page or section.
3. Media Elements

For inserting images, videos, and animations.
- Image: Upload static images like JPG, PNG, or SVG.
- Background Video: Plays silently in the background (great for hero sections).
- Video Embed: Embed YouTube or Vimeo videos by pasting a link.
- Lottie Animation: Add interactive animations using JSON files.
- Lightbox: Click-to-enlarge image galleries.
4. Buttons and Links
Used to create navigation and calls-to-action.
- Button: A styled, clickable element for forms or CTAs.
- Link Block: A container that makes everything inside it clickable.
- Nav Link: Used in menus or navbars to navigate between pages.
Use these to guide users and drive actions (like submitting a form or making a purchase).
5. Navigation Elements
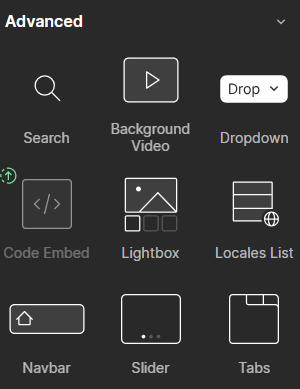
Essential for site usability.
- Navbar: Pre-built responsive navigation bar for desktop and mobile.
- Dropdown: A menu that expands when clicked or hovered.
- Slider: A carousel-style content display (for testimonials, product slides).
- Tabs: Switchable sections of content in a compact layout.
Navigation elements help organize content and improve user experience.
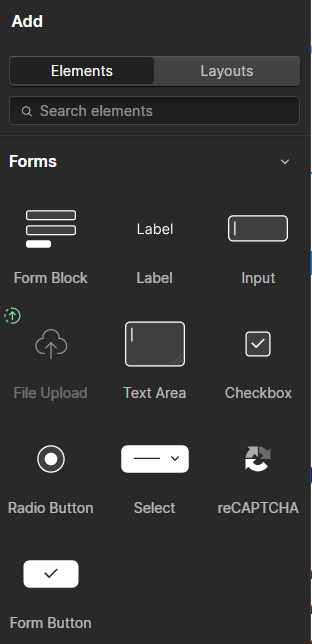
6. Form Elements
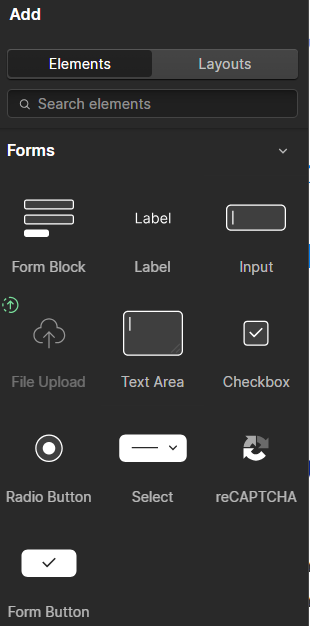
Allow users to send you information.
- Form Block: A wrapper that includes form fields and buttons.
- Input Field: For short text (name, email, etc.).
- Text Area: For longer text (like messages).
- Select: Dropdown menus.
- Checkbox: For yes/no options.
- Radio Button: Choose one from a list.
- File Upload: Lets users attach files (on paid plans).
- Submit Button: To submit the form.
- Success/Error Message: Displayed after form submission.
Forms are essential for lead generation, contact pages, and surveys. for more brief read: How to Add a Contact Form in Webflow
7. CMS Elements (for Dynamic Content)
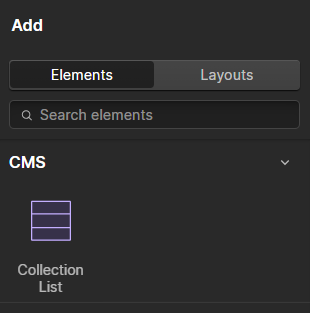
Used with Webflow’s CMS (Content Management System) to display blog posts, portfolios, and more.
- Collection List: A repeatable structure connected to your CMS.
- Collection Pages: Auto-generated pages for each CMS item.
- CMS Fields: Dynamic data like title, image, or description pulled from your content.
Great for blogs, team pages, or anything you need to update often.
8. Embed Custom Code
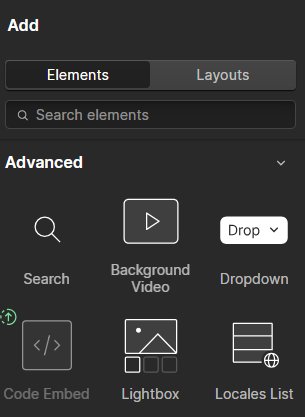
Use this when you need to go beyond Webflow’s built-in features.
- Embed: Paste custom HTML, JavaScript, or CSS.
- Use it for third-party widgets like countdown timers, chat apps, or custom animations.
Ideal for advanced users or when Webflow doesn’t offer a native solution.
How to Use Webflow Elements
- Click the “+” icon (Add Elements panel) in the left toolbar.
- Choose your desired element.
- Drag it into the canvas.
- Style it using the Style panel on the right (for fonts, padding, margin, color, etc.).
- Assign classes to reuse styles across pages.
Best Practices for Using Elements
- Use Sections and Containers to maintain clean structure
- Name your classes logically (like .hero-heading, .btn-primary)
- Keep mobile in mind while designing (use the responsive breakpoints)
- Re-use components using Symbols for headers, footers, and CTAs
- Use CMS for repeatable content instead of copying/pasting
Limitations of Webflow Elements
While Webflow offers a lot out of the box, some features are not available as native elements, like:
- Tables (you need to use Grid or Embed custom code)
- Accordions (buildable using interactions)
- Mega menus (can be custom built with interactions or third-party help)
But most of these limitations can be solved using creative layout and interaction techniques.
Conclusion
Webflow elements are the foundation of any Webflow site. By understanding what they are and how to use them, you’ll be able to create powerful, responsive websites even if you’re not a designer or developer.
From simple buttons and images to dynamic CMS lists and form blocks, Webflow equips you with everything you need to bring your ideas to life—visually and efficiently.
-
Yes! Webflow’s visual interface lets you drag and drop elements to build fully functional websites without code.


")
