
Photo by Team TGM
Building a website doesn’t have to drain your budget or creativity. This Webflow tutorial shows you exactly how to create professional websites without coding knowledge.
We cover every step from signup to launch, including latest features like AI-powered tools and improved CMS capabilities. You’ll learn to leverage Webflow’s visual website builder to create stunning, responsive sites that actually convert visitors into customers.
Table of Content:
Webflow puts the power of code into a visual canvas so every team can create stunning websites quickly and extend the power of their work with custom code. With over 15,000 websites published with Webflow every hour, it’s clear this platform is transforming how people approach web design.
In this Webflow tutorial, we’ll walk you through how to create a website with Webflow from your first login to publishing your site live. Whether you’re a freelancer, small business owner, or creative professional, this guide covers everything you need to launch your website in 2025.
Related: What is Webflow and How Does It Work?
Why Choose Webflow for Website Creation?
Before we dive into the steps, let’s quickly see why Webflow is a great choice:
- No-code visual builder: Drag, drop, and style without touching code.
- Responsive design: Websites look great on desktop, tablet, and mobile.
- SEO-friendly: Built-in SEO settings to optimize your site.
- Built-in hosting: No need for third-party hosting.
- Custom CMS: Perfect for blogs, portfolios, and dynamic content.
Step 1: Sign Up and Create a Webflow Account
Head over to webflow.com and sign up with your email or Google account.
Once you’re in:
- Click “New Site” to create your first project.
- Choose a workspace if you’re working solo or with a team.
- You’ll land on the Webflow dashboard, your starting point.
-
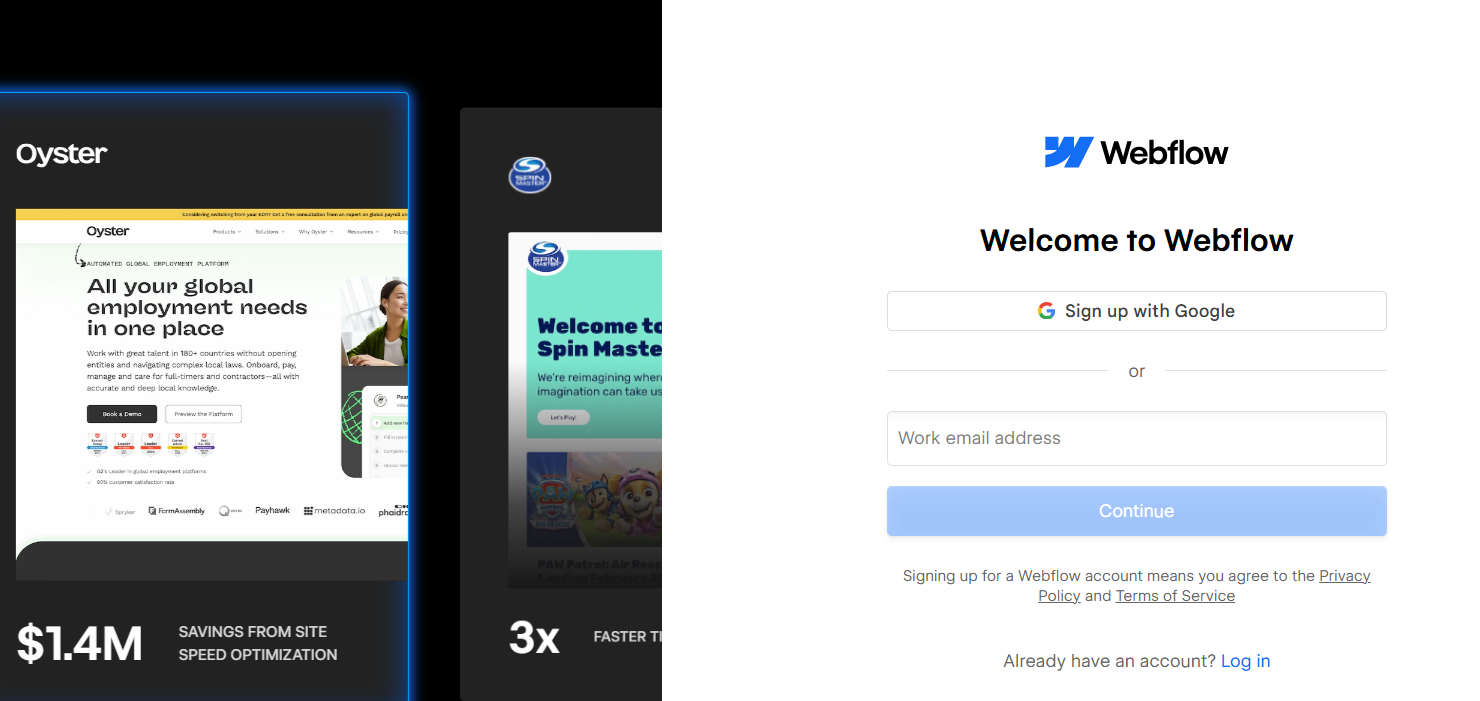
Web flow – Sign Up
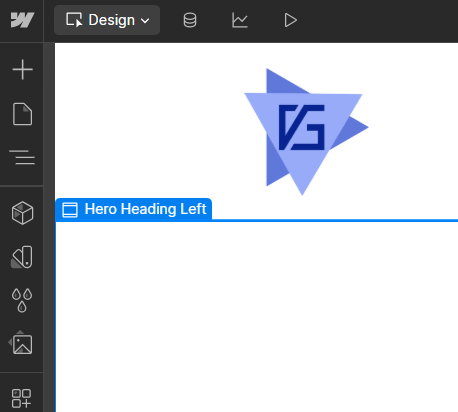
Step 2: Understand the Webflow Dashboard
Webflow’s interface might look overwhelming at first, but it’s actually quite organized. Key sections include:
- Designer: Your main canvas to design and edit.
- Pages Panel: Where all your site pages live.
- Navigator: Like layers in Photoshop; see all elements on your page.
- Style Panel: Controls colors, fonts, margins, etc.
- Assets Panel: Where you upload images and files.
- CMS: Create and manage blog posts or dynamic content.
Also Read: Webflow Elements: What They Are & How to Use Them
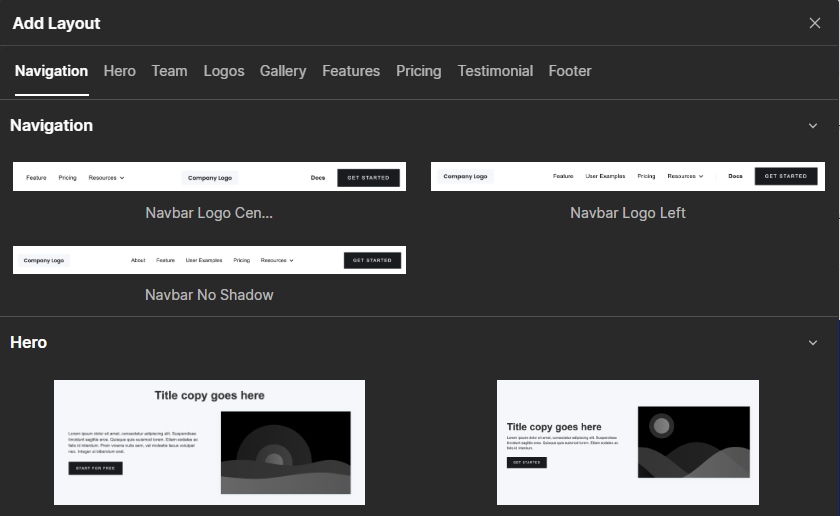
Step 3: Choose a Template or Start from Scratch
Webflow gives you two options:
- Start from scratch: Total control, but takes longer.
- Use a template: Faster and beginner-friendly.
Click “Templates” when creating a new project. You’ll find free and premium designs for:
- Portfolios
- Business websites
- Blogs
- Landing pages
You can customize everything—text, images, layout, and more.
Step 4: Design Your Website Pages
Here comes the fun part: designing your site!
- Add Sections to build the layout.
- Use Containers for content blocks.
- Drag in Text, Images, Buttons, and more.
- Style everything using the right-hand Style Panel (change fonts, spacing, colors, etc.)
- Use the Navigator to arrange or reorder elements.
You can also enable responsive previews for tablet and mobile views right from the top bar.
Learn More: Webflow Modules: A Complete Guide

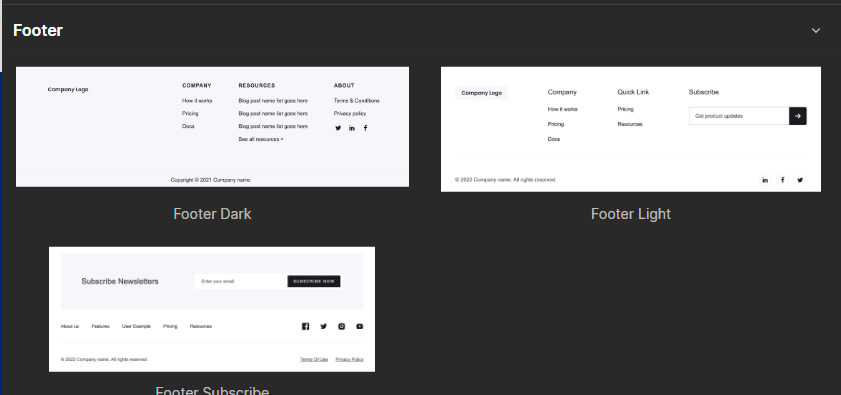
Step 5: Create Navigation Menu and Footer
A good website needs clear navigation. Here’s how:
- Add a Navbar from the Components section.
- Add Links to different site pages (Home, About, Contact, etc.)
- Style the menu using the Style Panel.
For the footer:
- Add a Section at the bottom of each page.
- Insert Text, Social Icons, Newsletter Signup (optional).
- Use Webflow’s Symbols feature to reuse the same footer on multiple pages.
Step 6: Add Dynamic Content Using CMS (Optional)
Want to add blogs, products, or testimonials? Webflow CMS makes this easy.
Steps:
- Go to the CMS panel.
- Click “Create New Collection” (e.g., Blog Posts).
- Add fields like Title, Image, Body Text, etc.
- Use the Collection List element to display them dynamically.
It’s a powerful way to automate content updates.

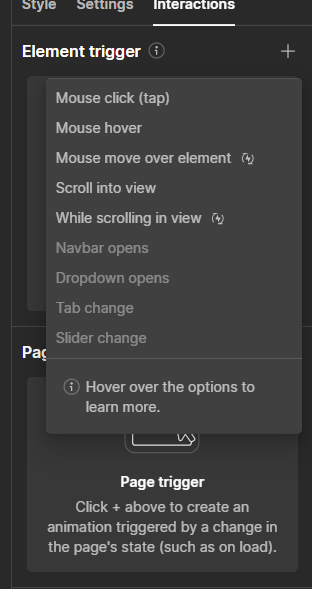
Step 7: Add Interactions and Animations
Make your site feel alive with Webflow’s animation tools:
- Go to the Interactions Panel (lightning icon).
- Add effects like:
- Fade on scroll
- Hover zoom
- Slide-in text
You can preview animations in real-time and adjust them easily.
Step 8: Optimize for Mobile and SEO
Webflow sites are automatically responsive, but you should still fine-tune the mobile view:
- Switch between devices in the top panel.
- Adjust text sizes, margins, or visibility settings as needed.
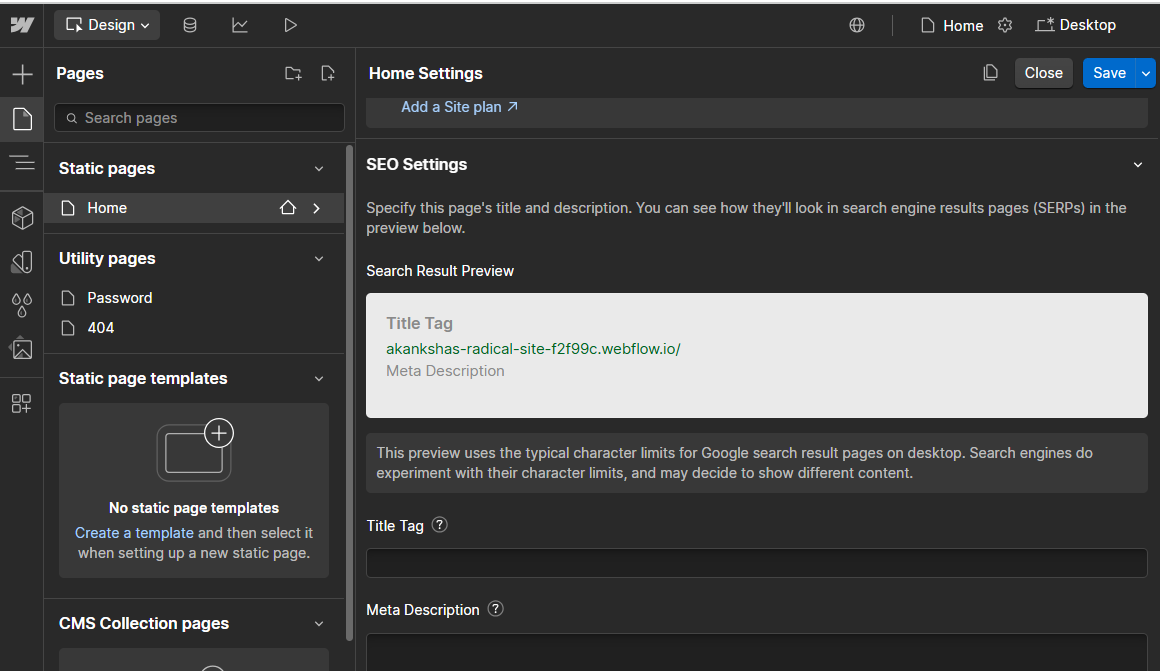
For SEO:
- Click Pages Panel → Settings (gear icon):
- Add meta title and description
- Set URL slugs
- Upload featured images (Open Graph)
- Add meta title and description
- Add Alt Text to all images
Related: SEO in Webflow – Beginner Guide
Step 9: Connect a Domain and Publish
To publish your site:
- Click “Publish” → “To Webflow.io” (default free domain)
- To add a custom domain:
- Go to Project Settings → Hosting
- Add your domain and follow DNS setup
- Enable SSL for security
- Go to Project Settings → Hosting
Once published, your site is live!

Bonus Tips for Beginners
- Save your work often with backups.
- Use Webflow University for video lessons.
- Start small—don’t try to build everything at once.
- Preview often on different screen sizes.
Conclusion
You now have everything needed to build a professional website with Webflow website builder. From signup to going live, this platform offers unmatched design control while remaining accessible to non-coders.
If you’re looking for a website builder that gives you control, flexibility, and design freedom without relying on plugins, Webflow remains one of the strongest options in 2025. Whether creating a portfolio, business site, or blog, Webflow vs competitors shows its strength in combining ease-of-use with professional capabilities.
Start building your first Webflow website today and discover why millions choose this website builder 2025 solution for their online presence.
-
Yes, Webflow offers a free plan for designing and publishing on a webflow.io subdomain. Custom domains and advanced features require paid plans starting at $14/month.


")
