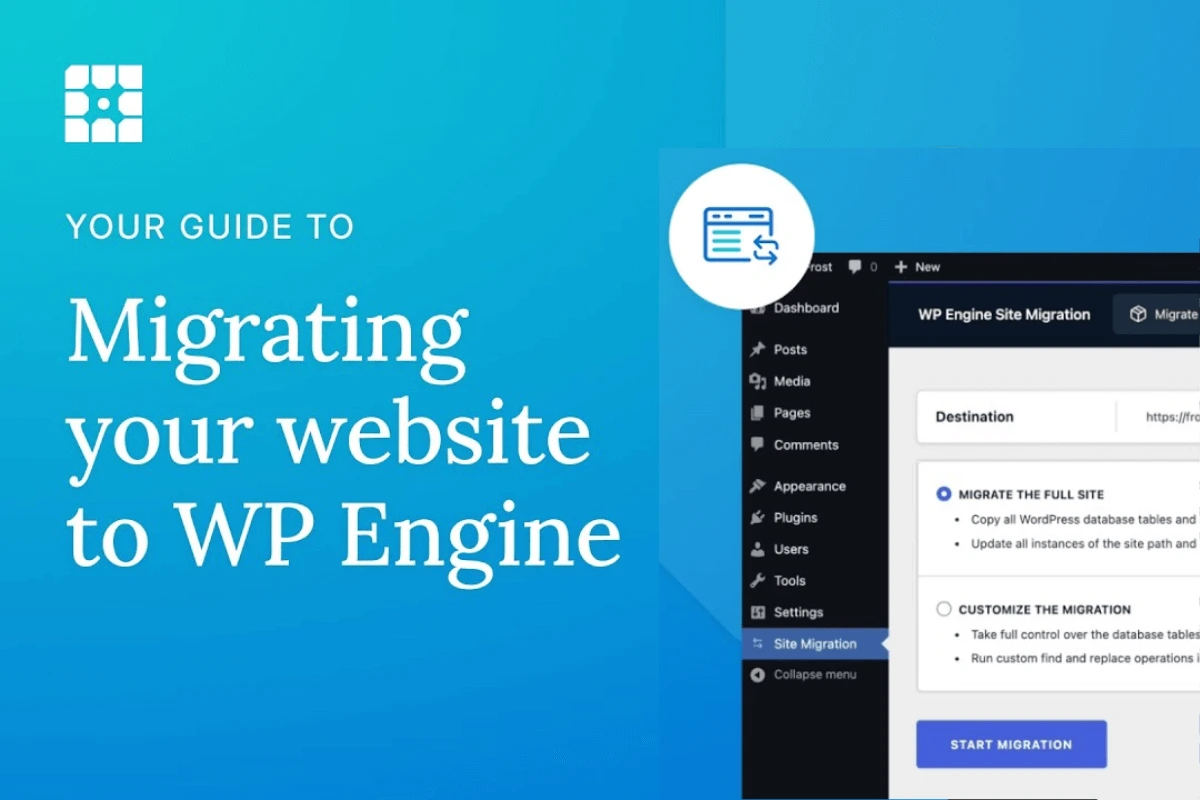
Photo by WP Engine
Moving your WordPress site to WP Engine can feel overwhelming, especially when you’re worried about downtime or losing data. This article solves that problem by walking you through the WP Engine Site Migration Plugin process step-by-step. Unlike generic migration guides, this tutorial focuses specifically on WP Engine’s automated tool, showing you exactly how to migrate your existing WordPress site without technical headaches. You’ll learn the complete process from plugin installation to DNS updates, ensuring a smooth transition to managed WordPress hosting.
Table of Content:
Your current WordPress hosting might be slowing down your site or lacking the features your growing business needs. Migrating to WP Engine offers better performance, security, and support, but the migration process often stops people from making the switch.
The WP Engine Site Migration Plugin eliminates the complexity of manual database exports, file transfers, and URL replacements. This automated WordPress migration tool handles everything behind the scenes, letting you move your WordPress site to WP Engine with minimal effort and zero downtime.
What is the WP Engine Site Migration Plugin?
The WP Engine Site Migration Plugin is a free, automated tool that transfers your entire WordPress website from any hosting provider to WP Engine’s platform. The plugin simplifies the process of moving any WordPress® website to WP Engine or Flywheel, allowing site migrations from just about any WordPress host or local hosting environment.
This WordPress migration tool copies your database, themes, plugins, media files, and content while automatically updating URLs and file paths. Unlike manual migration methods, the plugin handles serialized data correctly and excludes problematic files that could cause issues on WP Engine’s platform.
The plugin works with sites of all sizes and integrates directly with your WP Engine account, providing real-time migration status updates throughout the process.
Why Should You Migrate Your WordPress Site to WP Engine?
WP Engine hosting offers several advantages over traditional shared hosting providers. You get managed WordPress hosting with automatic updates, daily backups, and enterprise-level security features that protect your site from threats.
Performance improvements are significant when you migrate WordPress website to WP Engine. Their platform includes built-in caching, Content Delivery Network (CDN) integration, and optimized server configurations specifically designed for WordPress sites.
WP Engine also provides staging environments, developer tools, and 24/7 WordPress expert support. These features make it easier to maintain and grow your website without worrying about technical maintenance tasks.
What Do You Need Before Starting the Migration?
Before you begin the WordPress site migration ensure you have these essential requirements:
- Active WP Engine account with a hosting plan that supports your site’s requirements
- Destination environment set up in your WP Engine User Portal
- Current hosting credentials including FTP access details and database information
- WordPress admin access with administrator username and password
- Site backup as a safety precaution before starting migration
- List of current plugins to check against WP Engine’s compatibility requirements
Review your current site for any custom configurations, third-party integrations, or plugins that might need special attention after migration. Check WP Engine’s disallowed plugins list to ensure compatibility.
Need help setting up WordPress from scratch? Our comprehensive guide covers everything from choosing hosting to installing your first theme. Whether you’re a beginner or need a refresher, learn the fundamentals that make migration easier. Start with our WordPress installation guide →
How Do You Install the WP Engine Site Migration Plugin?
Installing the WP Engine Automated Migration plugin follows these simple steps:
- Access your WordPress dashboard on your current hosting
- Navigate to Plugins > Add New in the admin menu
- Search for “WP Engine Automated Migration” in the plugin directory
- Click “Install Now” and wait for installation to complete
- Activate the plugin through the Plugins menu
- Locate the new “WP Engine Migration” tab in your dashboard sidebar
How Do You Set Up WP Engine for Migration?
Setting up your WP Engine environment requires these key steps:
- Log into your WP Engine User Portal at your account dashboard
- Navigate to your destination site’s dashboard where the migrated site will live
- Click on “Site Migration” section to access migration settings
- Copy the connection information including destination URL, SFTP hostname, username, and password
- Keep credentials secure as these provide access to your WP Engine environment
How Do You Configure the Migration Settings?
Configuring your migration settings involves these essential steps:
- Click the WP Engine Migration tab in your WordPress dashboard
- Enter your WP Engine account email when prompted
- Input the four connection details copied from your WP Engine User Portal
- Choose migration type Full site migration (recommended) or customized migration
- Select specific files if using customized migration option
- Review exclusion settings to avoid problematic files
The full site migration option copies WordPress database tables and files in the wp-content directory while excluding disallowed plugins, logs, backups, and caches. For detailed migration guidance, refer to WP Engine’s migration resources.
For most WordPress migration to WP Engine scenarios, the default settings work perfectly without additional customization.
What Happens During the Migration Process?
Once you click “Migrate,” the WP Engine Site Migration Plugin begins transferring your site data. A status page will be displayed detailing the migration progress, and migration completion or failure notifications will be sent to the email address provided once the process has finished.
The automated WordPress migration process typically takes 15-60 minutes depending on your site size. Smaller sites with basic content migrate faster, while larger sites with extensive media libraries take longer.
Your original site remains fully functional during migration, ensuring zero downtime for your visitors. The plugin creates a complete copy on WP Engine’s servers without affecting your current hosting.
How Do You Test Your Migrated Site?
Testing your migrated site ensures everything transferred correctly:
- Access your temporary WP Engine URL to preview the migrated site
- Check all pages load correctly including homepage, about, contact, and service pages
- Verify images display properly and media files are accessible
- Test forms functionality including contact forms and subscription forms
- Check user login systems and account access features
- Navigate internal links to ensure proper URL structure
- Test third-party integrations such as payment processors or email services
- Compare against original site for content accuracy and formatting
Document any issues you discover for addressing before going live. Understanding WordPress theme installation can help if styling issues arise during testing.
How Do You Update Your DNS Settings?
Updating DNS settings completes your migration process:
- Access your domain registrar’s control panel (GoDaddy, Namecheap, etc.)
- Locate the DNS management section in your account dashboard
- Find your domain’s A record in the DNS settings
- Update A record to WP Engine’s IP address from your WP Engine User Portal
- Locate DNS Details section in WP Engine for correct IP information
- Save DNS changes and allow 24-48 hours for global propagation
- Monitor site functionality during the transition period
Conclusion
Migrating your WordPress site to WP Engine with the Site Migration Plugin turns a complex task into a smooth, automated process. Just set up your WP Engine account, run the plugin, test before updating DNS, and rely on WP Engine support if needed. The result? A faster, more secure site with professional support—ready to scale and deliver a better user experience.
-
Most WordPress site migrations to WP Engine complete within 15-60 minutes using the automated plugin. Smaller sites typically migrate faster, while larger sites with extensive media libraries may take longer. The exact time depends on your site size and current hosting speed.


